Drawing a lion can be fun and easy with this step-by-step guide that’s perfect for kids. In just five steps, you’ll learn how to draw a lion with a big, fluffy mane!
Plus, download our FREE PDF Practice Worksheet at the end, which includes all the steps and extra space to practice. Let’s get started!
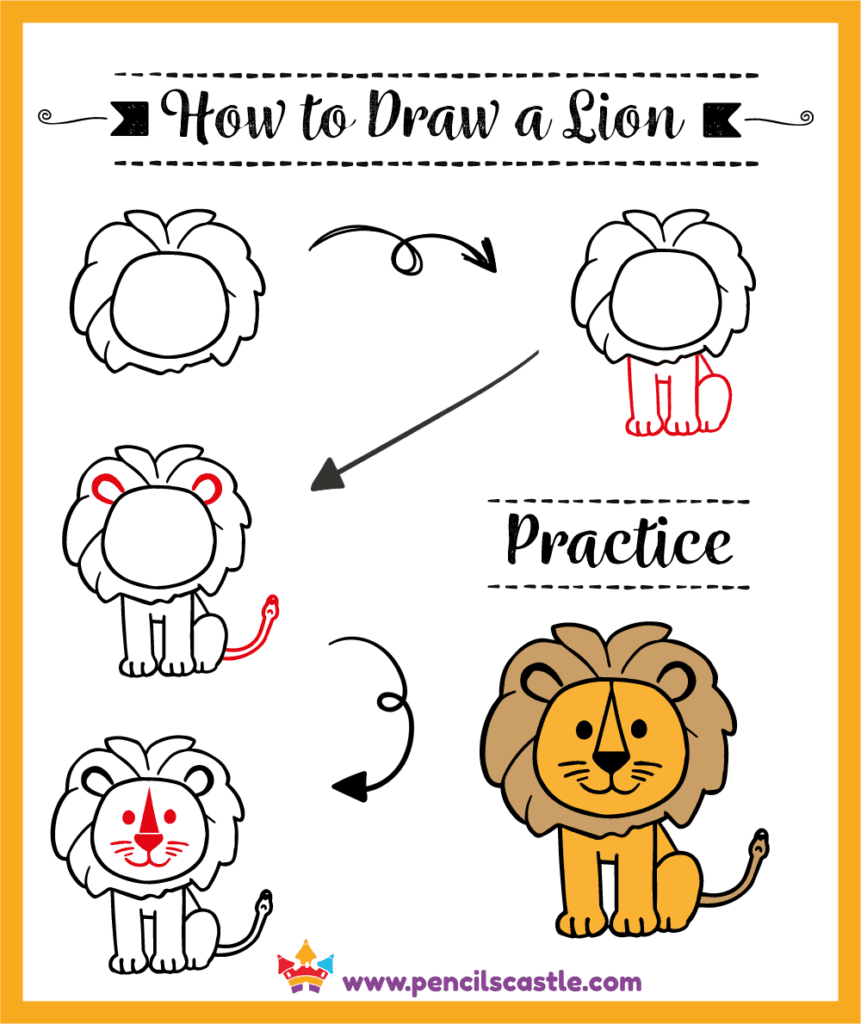
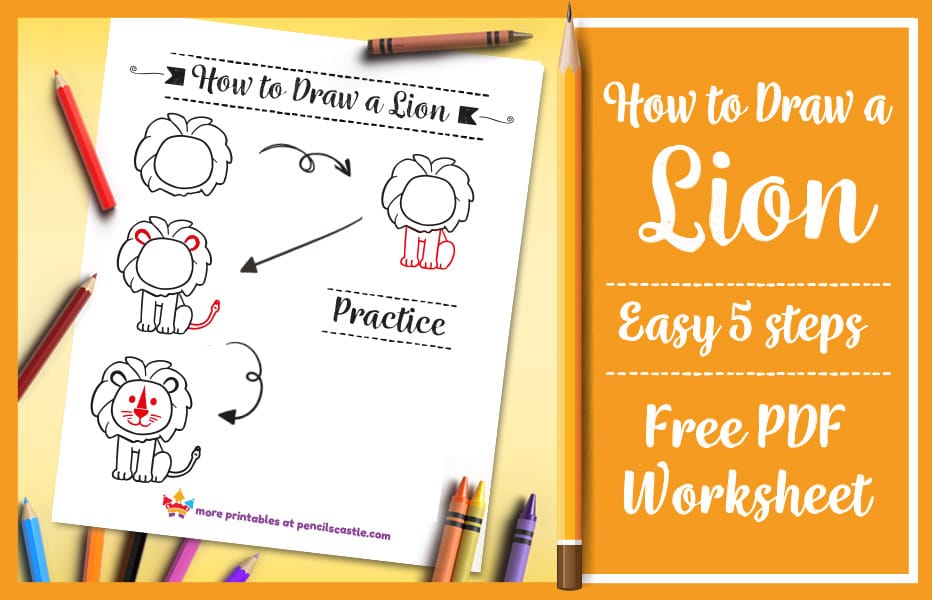
Easy 5-Step Lion Drawing + Free Practice Guide
Drawing Materials
- Paper
- Pencil
- Eraser
- Crayons, markers, or colored pencils
- Our Lion Drawing Guide PDF Worksheet (optional)
Start by drawing lightly so that you can easily erase if you make any mistakes. Continue by following the arrow step.
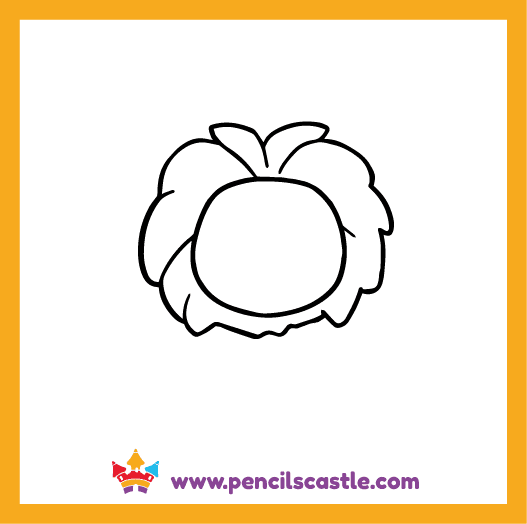
Step 1: Draw the Lion’s Face and Mane
Firstly, draw a large circle for the lion’s head. Then around the head, draw a fluffy mane using wavy lines to give your lion its iconic look.
Tip: Make the mane big and wavy to make your lion look friendly and proud!
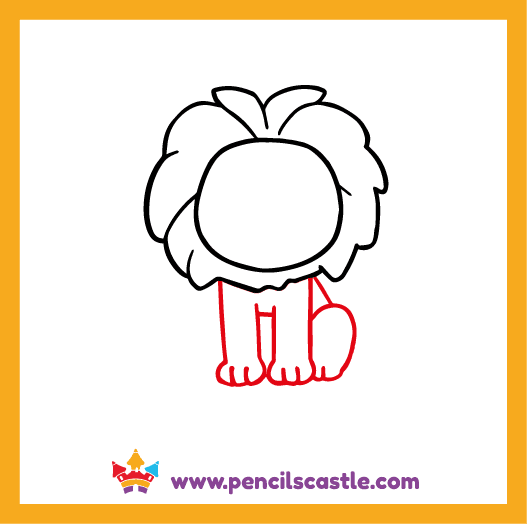
Step 2: Draw the Body and Legs
Below the head, draw four straight lines for the legs, curving them slightly at the ends to form the paws. Add small, curved lines at the bottom for paw details, then draw a small oval shape behind for the lion’s back leg.
Tip: Keep the legs even and the paws rounded for a cute, cartoon-like look.
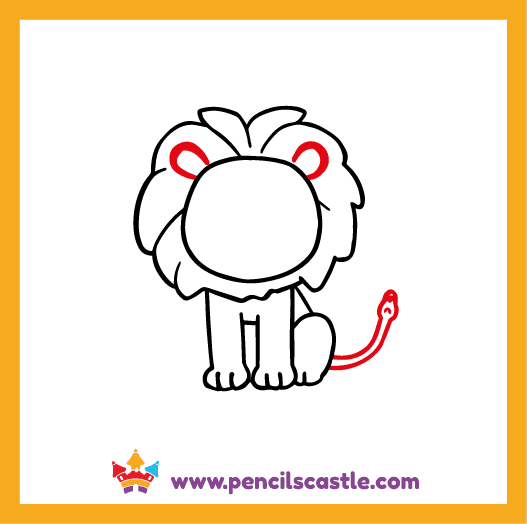
Step 3: Draw The Ears and Tail of the Lion
On top of the head, draw two small, curved triangles for the lion’s ears. Then for the tail, draw a long, curved line extending from the back of the body and add a tiny oval at the end for the tuft of fur.
Tip: Make the tail curve slightly for a natural and playful look!
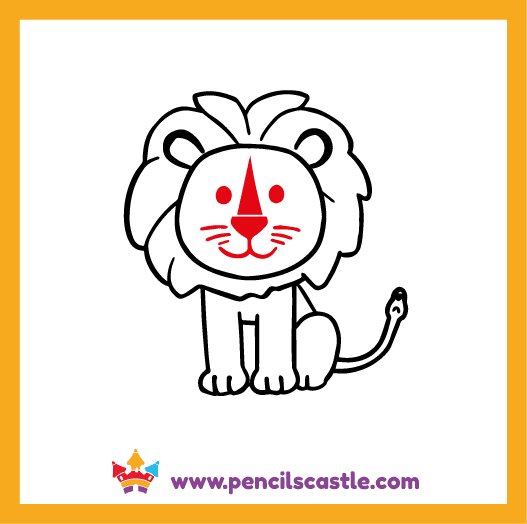
Step 4: Add The Lion’s Face Details
Firstly Inside the head, draw two big, round eyes to give the lion a friendly expression. Secondly, below the eyes, add a long triangle shape for the nose, followed by a smaller curved triangle just below it. Then, draw two half circles for the mouth. Finally, add three small curved lines from each side of the nose for whiskers.
Tip: Try making the eyes large to make the eyes look bright and lively.
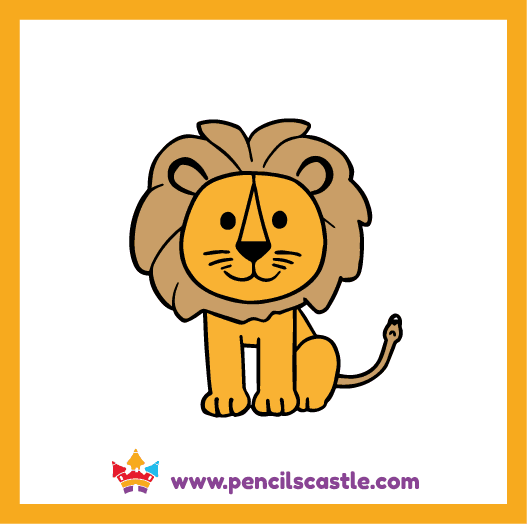
Step 5: Color Your Lion
Finally, bring your lion to life by adding color! Lions are usually golden or yellowish-brown, with darker shades for the mane and tail. Use your favorite colors to make your lion unique.
Tip: You can use brown or orange shades for the mane to make it stand out.
Free Lion Drawing Practice PDF Worksheet!
Practice makes perfect! Download the following FREE How to Draw a Lion PDF that includes all five steps and space at the bottom to draw your lion. This worksheet is perfect for kids and students to practice anytime and have fun with their creativity.
Terms of Use: You can print as many copies as you need for your kids, students, or groups. To share, please link to this page. Please don’t sell, email, post, or share these files in any other way. Thank you!
Lion drawing worksheet pdfExplore Our 42 Lion Coloring Pages
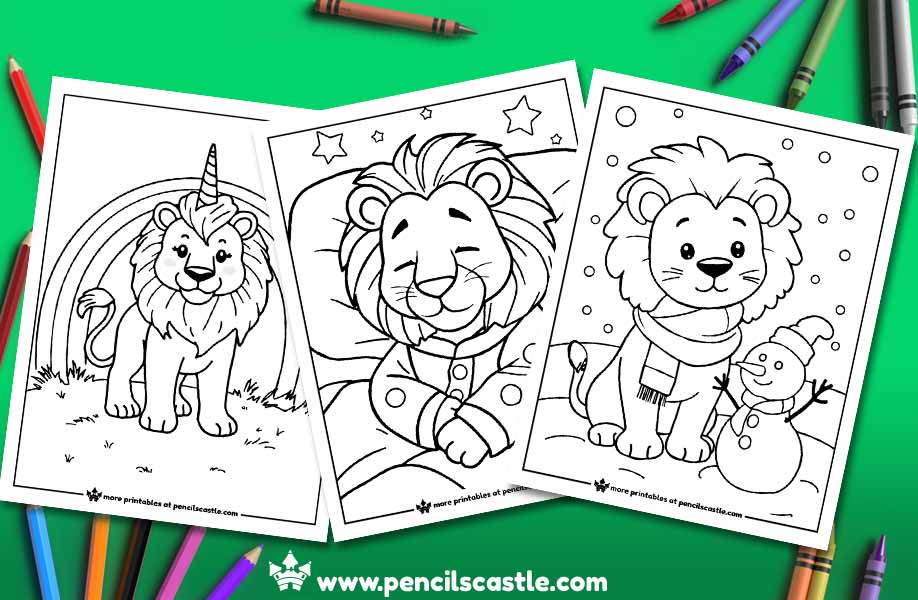
Want more Lion-themed activities? Check out our 42 Lion Coloring Pages for endless coloring fun! These pages are a great way to spend time with your favorite cute jungle animals.
👉 Explore 42 Lion Coloring Pages Here
How to Fix Common Lion Drawing Mistakes
- Mane Too Small: The lion’s mane is big and fluffy! If your mane looks small and tight around the face, try making it much bigger and using longer, wavier lines. Look back at Step 1.
- Legs Too Long and Thin: Lion’s legs are strong but not super long. In Step 2, see how the legs are fairly short and sturdy? If your lion has long, skinny legs, try making them shorter and a bit thicker.
- Tail Too Straight: A lion’s tail usually has a bit of a curve! In Step 3, the tail has a nice, gentle bend. If your tail is just a straight line, try adding a curve to make it more lively.
- Eyes Too High Up: Look at Step 4 – the eyes are in the middle part of the face. If you draw the eyes too close to the top of the head, the lion might look surprised!
- Mouth Too Small: Lions have a good-sized mouth! Make sure your smile in Step 4 is wide enough to show a happy lion.
Helpful Drawing Tips and Tricks For Kids
- Start with the Head: The head and mane are a big part of a lion’s look, so starting there can help you get the right size for the rest of the body.
- Use Light Circles First: When drawing the head and body, start with light circles or ovals. It’s easier to change these shapes if you need to.
- Imagine the Fluffiness: When drawing the mane, think about soft, fluffy fur all around the lion’s face.
- Look at the Angles: Notice how the legs are positioned in Step 2. They help the lion look like it’s sitting comfortably.
- Have Fun Roaring with Color: Lions are often golden yellow and brown, but you can use your imagination and color your lion any way you like!
Lion Fun Facts for Kids
- Live in Groups: Lions live in groups called prides, which usually consist of related females and their cubs, and one or two males.
- Loud Roars: Lions are famous for their loud roars, which can be heard from as far as 5 miles away!
- King of the Jungle: Lions are often called the “king of the jungle,” but they actually live in grasslands and plains in Africa.
- Manes Only for Boys: Only male lions have big, impressive manes. They help to protect their necks during fights and make them look bigger and stronger.
- Sleepy Lions: Lions like to sleep a lot – sometimes up to 20 hours a day! That’s a lot of naps!
More Fun Drawing Guides
Grab our How to Draw a Cat for Kids
Check out our How to Draw a Horse for Kids
Don’t miss our How to Draw a Bird for Kids
You will Also love our How to Draw a Fish for Kids
Explore our How to Draw a Dragon for Kids
With this easy guide, drawing a lion is simple and enjoyable. Try these steps, you can also explore our other How to Draw Animals Tutorials for more fun learning!