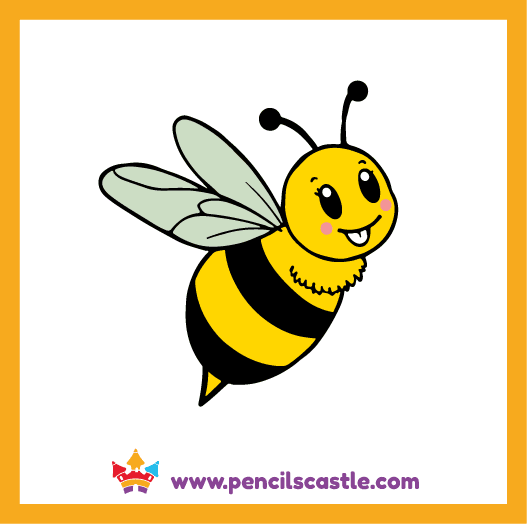
Buzz, buzz! Did you know bees are super important for nature? They help flowers and plants grow! Let’s learn to draw a cute, friendly bee with big wings and fun stripes. This easy guide will have you buzzing with excitement! Grab your pencil, and let’s get ready to fly into this drawing lesson.
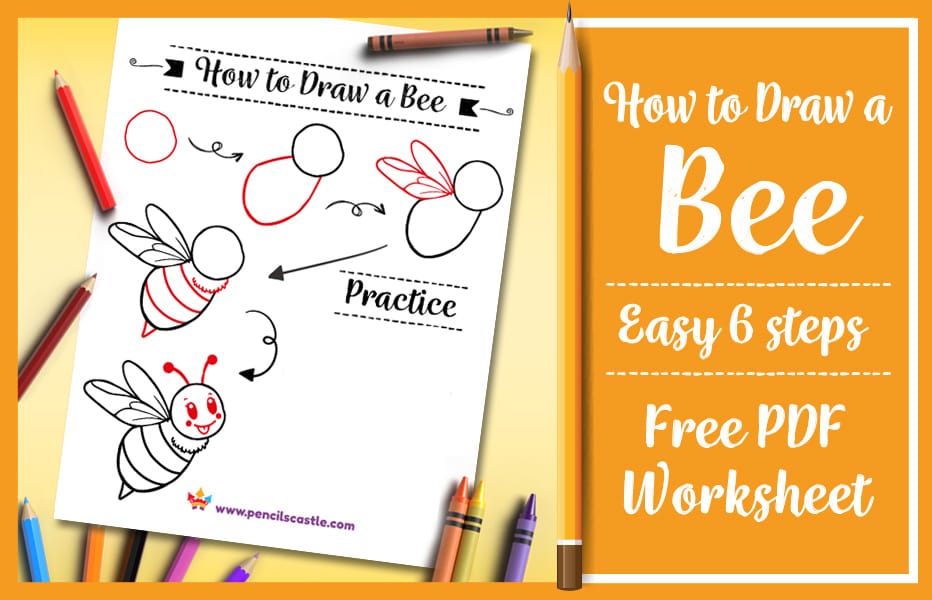
We created a special free printable PDF worksheet just for you! It’s a downloadable sheet with the step-by-step instructions and a dedicated practice area. It’s the perfect way for young artists to try drawing their adorable bee!
More Drawing Related to Bee
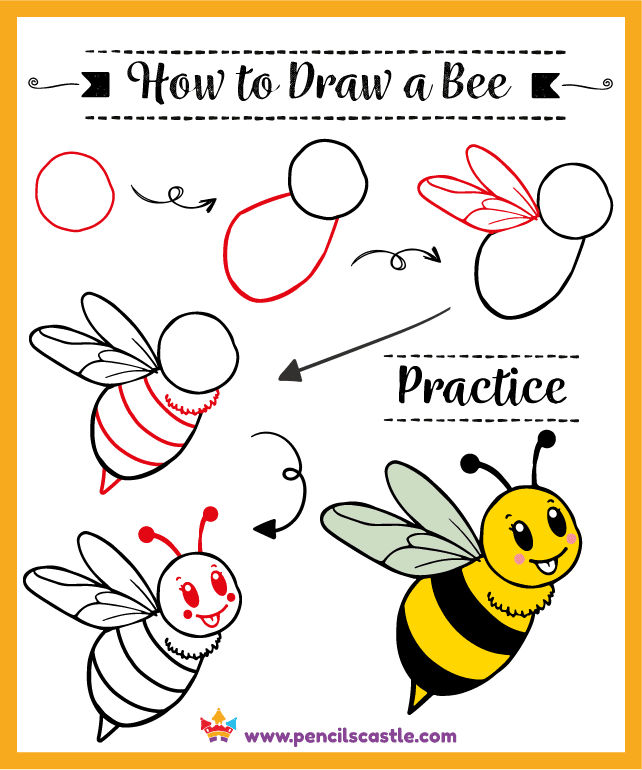
Easy 6-Step Bee Drawing Guide + Free PDF Worksheet
Follow these six straightforward steps to draw a cute cartoon bee!
Drawing Materials
- Paper
- Pencil
- Eraser
- Crayons, markers, or colored pencils
- Our Bee Drawing Guide PDF Worksheet (optional)
Start by drawing lightly so that you can easily erase if you make any mistakes.
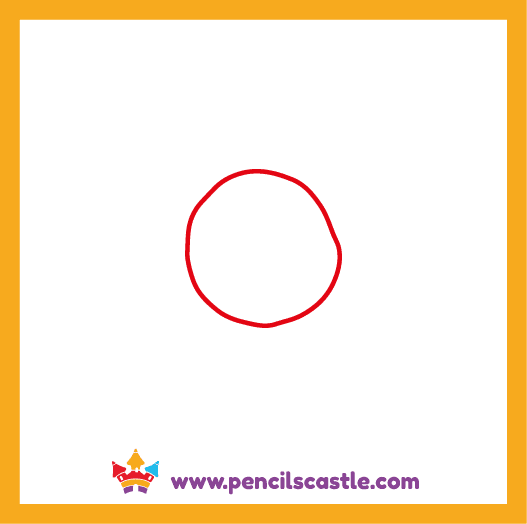
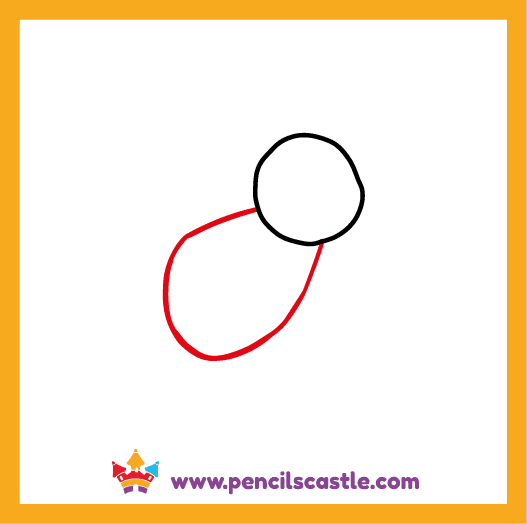
Step 1: Draw the Bee’s Head Outline
Begin by sketching a neat circle for the bee’s head.
Step 2: Draw the Bee’s Body Shape
Add a large oval shape right below the head to form the body, making sure the two shapes connect smoothly.
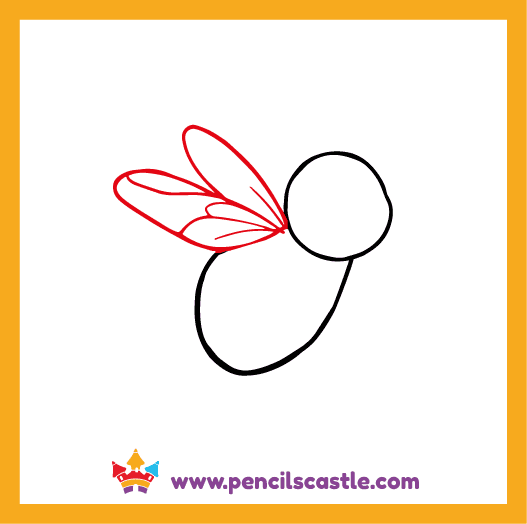
Step 3: Add the Wings
From the top of the body, draw Two curved, rounded shapes for the wings. Add some fine lines inside the shapes for the delicate veins of the wings.
Erase any part of the body outline where the wings attach to make it look connected.
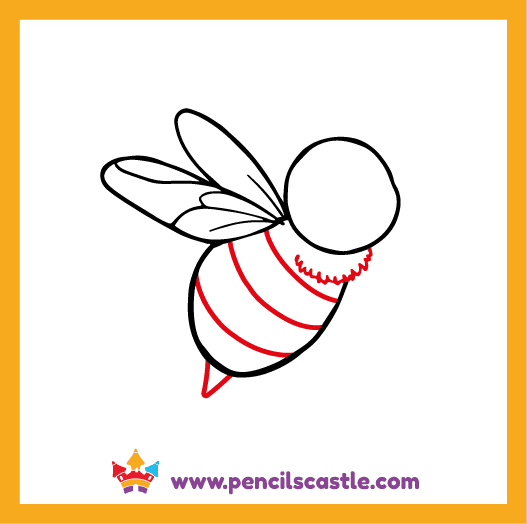
Step 4: Draw the Stripes and Sting
Define the fuzzy body by drawing three wavy, horizontal lines across the oval for the stripes. At the back end of the body, draw a tiny V-shape to represent the sting. finish
Finish with small wavy lines above the stripes to give your bee a realistic look.
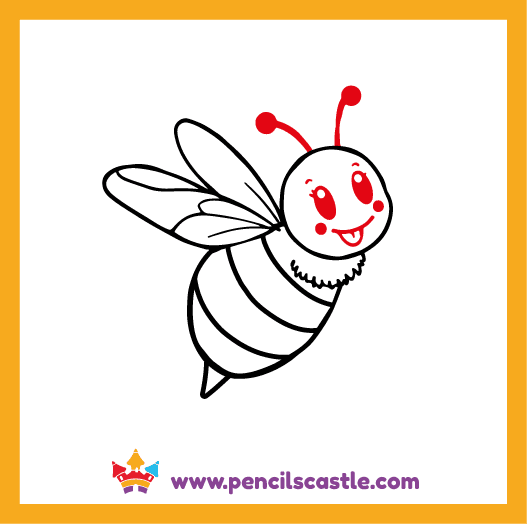
Step 5: Add the Antennae and Face Details
Let’s give our bee a friendly face!
- Draw two small, curved lines sticking up from the head, topping each one with a tiny circle for the antennae.
- Draw two large, round oval dots for the eyes, then draw two small curved lines above them for the eyebrows.
- Draw a big, friendly, curved line for a smile, then add a small U-shape under the smile line to show the tongue.
- Don’t forget to add two tiny, red dots for its rosy cheeks!
Step 6: Color Your Buzzing Bee!
It’s time for color! Use bright yellow and black for the iconic stripes. Color the stripes black and the rest of the body yellow. Keep the wings a pale gray or light blue to make them look translucent.
Free Bee Drawing Practice PDF Worksheet!
Ready to bring this buzzing buddy to life? Download our free printable worksheet now! It’s your own personal practice page with all the steps clearly laid out and a blank area to draw your bee again and again. This resource is perfect for mastering your new art skills!
Click below to get your printable worksheet and have fun drawing!
Terms of Use: You can print as many copies as you need for your kids, students, or groups. To share, please link to this page. Please don’t sell, email, post, or share these files in any other way. Thank you!
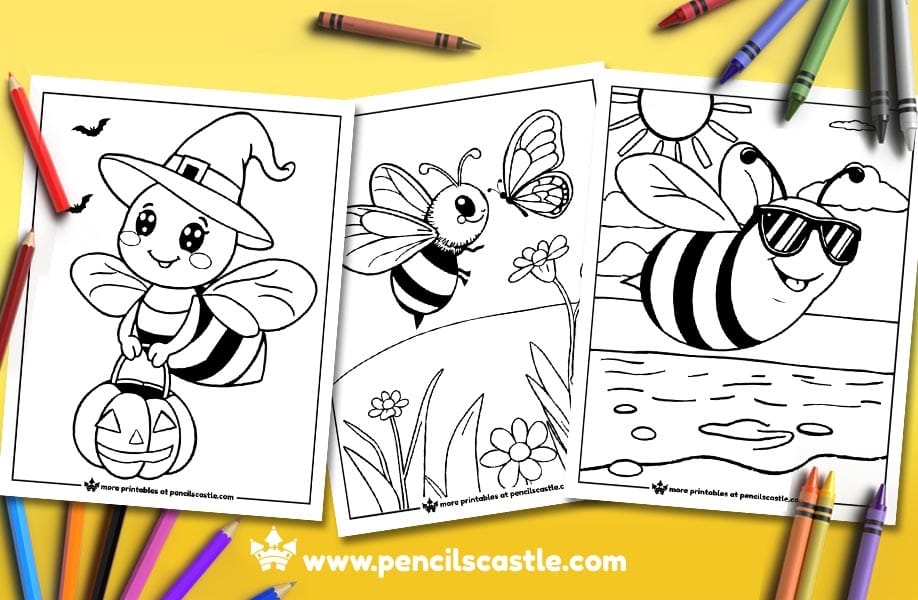
bee drawing worksheet pdfGrab our 34 Bee Coloring Pages
Don’t let the fun stop with drawing! Visit our page to find a delightful collection of bee coloring pages. You can print these outlines and color them with your favorite yellows, blacks, and glittery accents. It’s a fantastic, creative way to explore the wonderful world of these striped insects!
5 Ways to Make Your Bee Drawing More Fun!
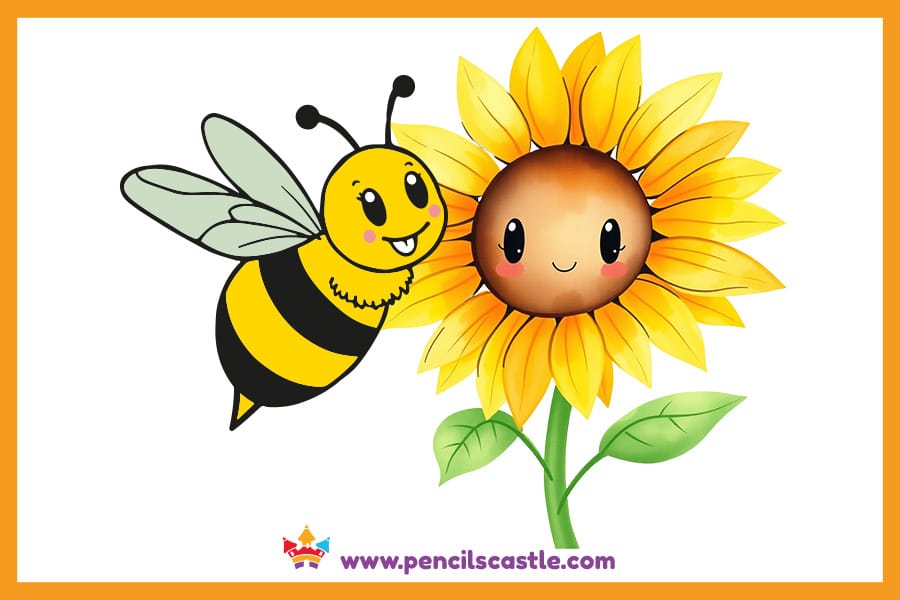
Add a Flower: Draw your bee landing on a big, colorful sunflower to gather nectar.
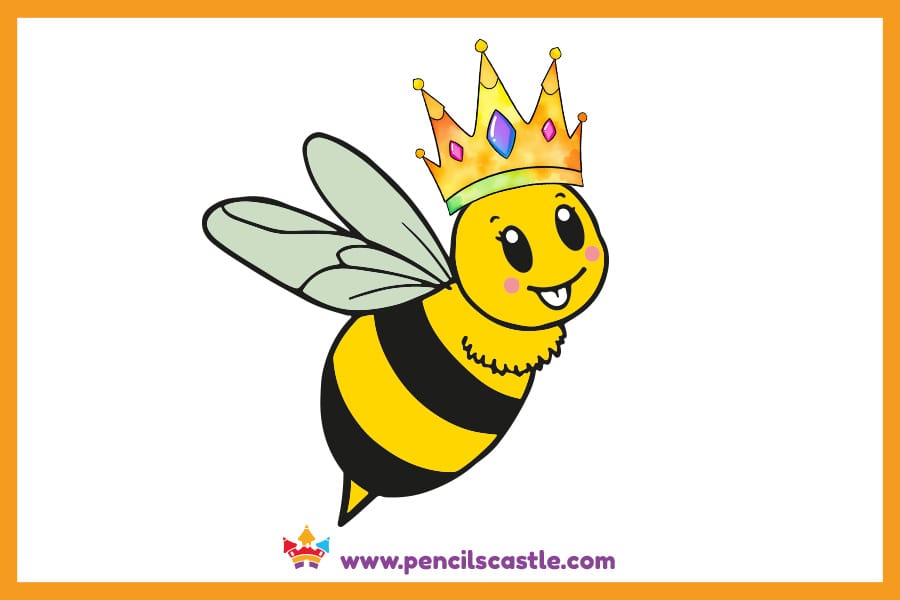
Make It a Queen: Give your bee a tiny, sparkly crown on its head to show it’s a queen bee!
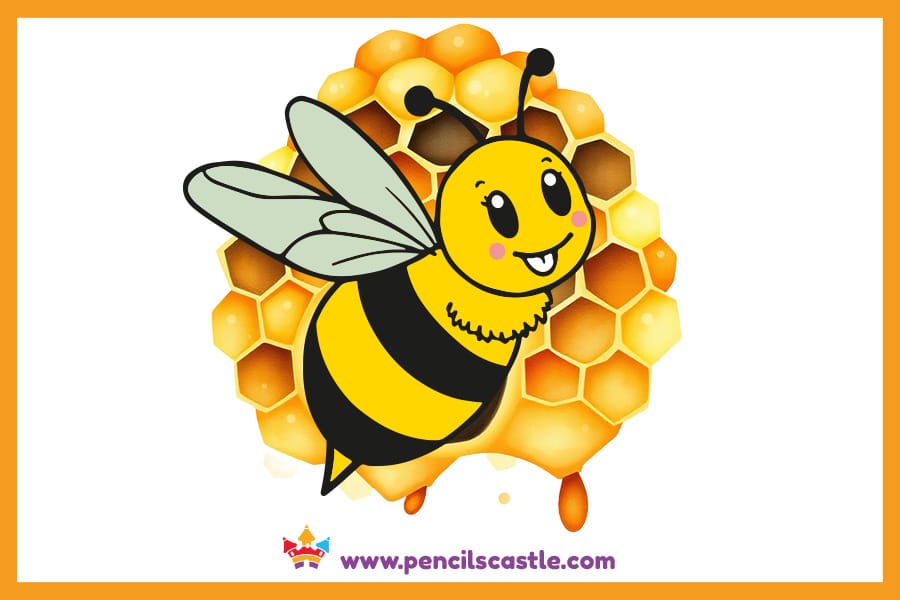
Draw Honeycomb: Draw a background filled with hexagon shapes to show the inside of a beehive.
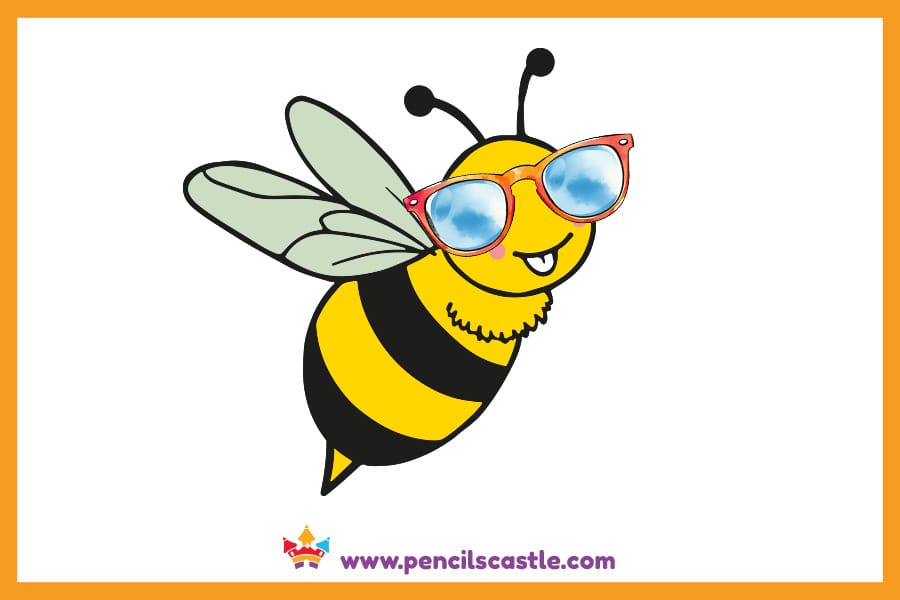
Give It Sunglasses: Draw a funny pair of glasses on your bee’s face for a silly look.
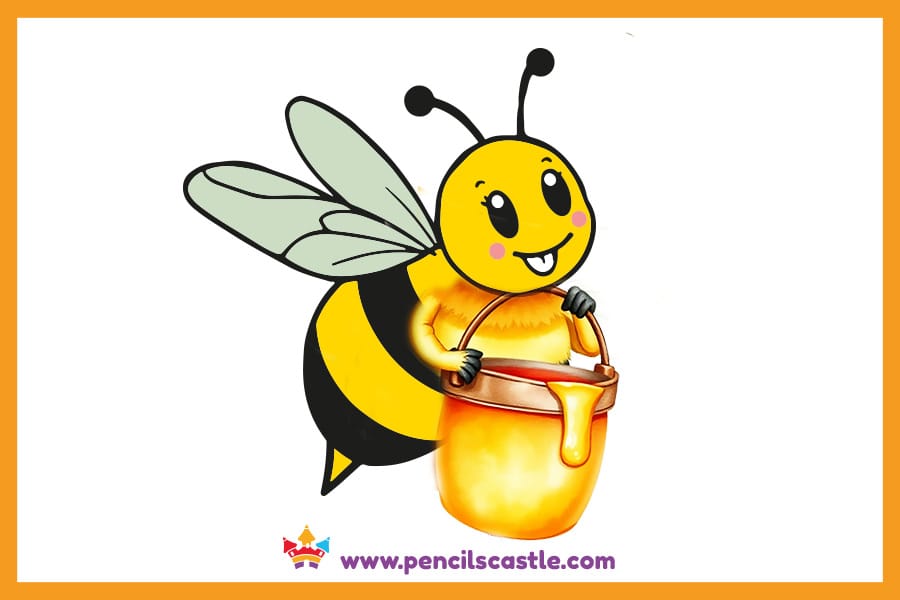
Add a Honey Bucket: Draw a bucket or basket to show your bee carrying honey!
How to Fix Common Bee Drawing Mistakes
- Body Proportions: If your bee’s body is too small, check Step 2 and make the oval bigger. It should be noticeably larger than the head circle.
- Stripes Look Flat: To capture the bee’s fuzzy look, use the wavy lines described in Step 4 for the stripes, not straight lines.
- Wings Lack Detail: If the wings look too heavy, use light pencil strokes and include the inner vein lines mentioned in Step 3 to make them appear light and airy.
- Antennae Placement: Remember to make the antennae slightly curved, as in Step 5, for a more natural look.
Helpful Bee Drawing Tips and Tricks For Kids
- Pencil Pressure: Use very light pressure when sketching your initial circles and ovals so it’s easy to erase them later if you want to clean up your lines.
- Adding Movement: Draw tiny, dashed lines following the bee’s wings to make it look like it’s zooming around in the air!
- Texture Trick: When coloring the yellow parts, use short, quick strokes of your pencil or crayon to create a soft, fuzzy texture.
- Background Scene: Give your bee a reason to buzz by drawing it near its favorite food—a colorful, open flower!
Bee Fun Facts for Kids
- Hard Workers: Bees are incredibly busy! A single worker bee might visit thousands of flowers in one day.
- Unique Communication: Bees use a famous dance, called the “waggle dance,” to tell other bees exactly where to find the best patches of flowers.
- Types of Bees: Every hive has three types of bees: one Queen, many Worker bees, and the male Drone bees.
- The Buzz: That loud buzzing sound comes from the bee’s wings flapping super fast—sometimes hundreds of times every second!
- Making Honey: They are the only insect on Earth that produces food (honey!) that humans can eat.
More Fun Drawing Guides:
Explore our How to Draw a Butterfly for Kids
You will also love our How to Draw a Cat for Kids
Check out our How to Draw a Puppy Dog for Kids
Grab our How to Draw a Dragon for Kids
Discover our How to Draw a Bird for Kids
Don’t miss our How to Draw a Frog for Kids
Looking for more fun animal drawings? Check out our How to Draw Animals Tutorials for more easy step-by-step guides to drawing animals.